Power-up
The Power-up project illustrates the visual impact that can be added to a simple animation by the use of weighted meshes. We provide separate Spine projects for Spine Essential (powerup-ess.spine) and Spine Professional (powerup-pro.spine). The Spine Essential version relies solely on basic transformations like rotation and skewing, while the Spine Professional version (reviewed below) uses weighted meshes for a more dramatic effect.
Wings
Setup
Each wing consists of 3 bones. For the left wing, the bones are named left-wing, left-wing2, and left-wing3. These 3 bones deform the wing mesh attachment under the left-wing slot.
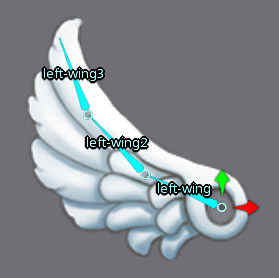
The wing mesh attachment under the right-wing slot is a duplicate, except that it is flipped on the X axis by using a scaleX of -1.
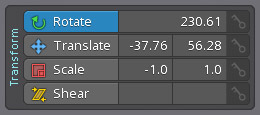
Both meshes use the same image, which saves space when exporting the skeleton's texture atlas.
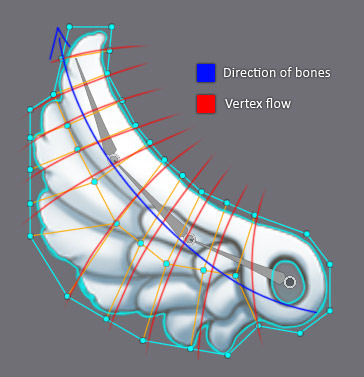
To ensure proper deformation of the mesh when the wing bones are rotated, the density of vertices is higher along the direction of the bones.
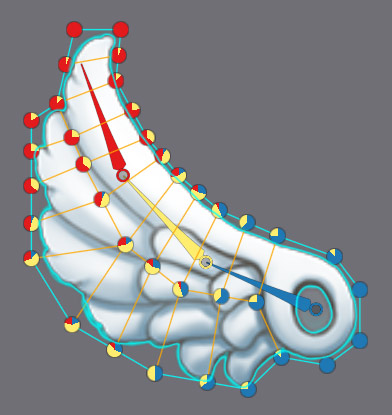
The vertices of each wing were first weighted to their respective bones using the Auto function in the Weights view. Next, Smooth was used to make the bend of the wing softer. Finally, the weights were pruned via the Prune function with a value of 5.5. Pruning optimizes the weights by removing any weights below the given value.
Animation
With all vertices weighted to bones, animating the wings only requires keying the wing bones. The weighted meshes follow the bones according to their weights.
Token
Setup
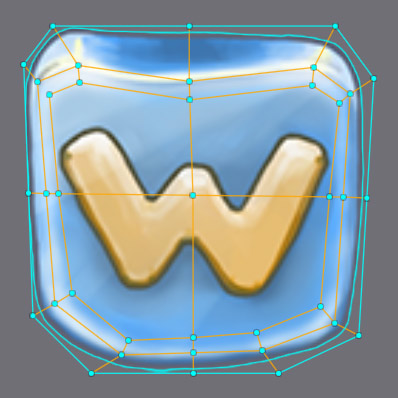
The token between the wings is a single mesh attachment.
Animation
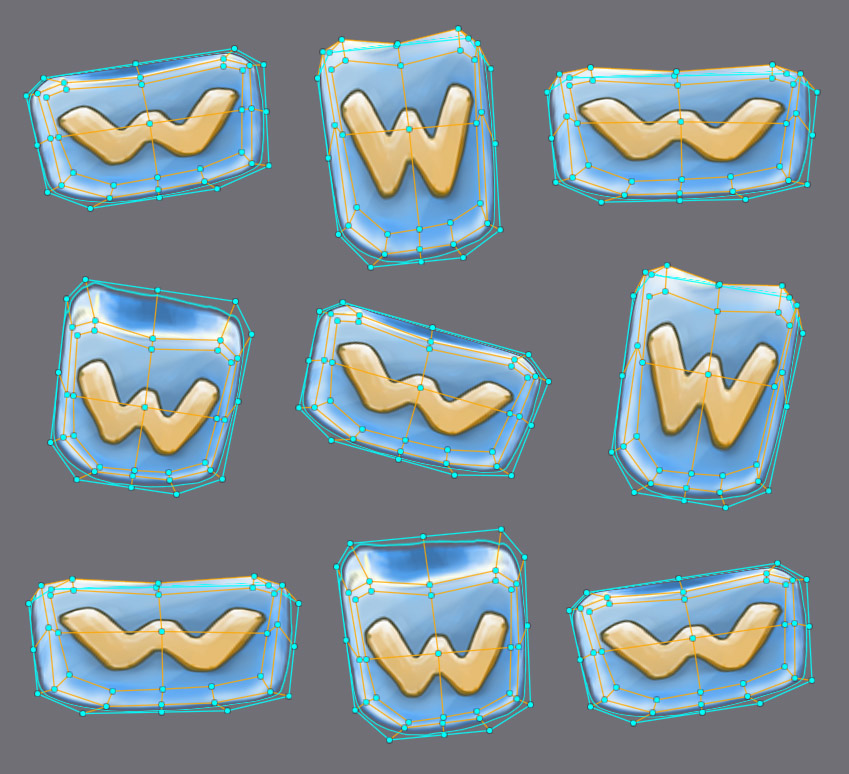
Instead of using weights to move vertices via bones, the token mesh is manually deformed by keying the positions of individual vertices.
Comparison
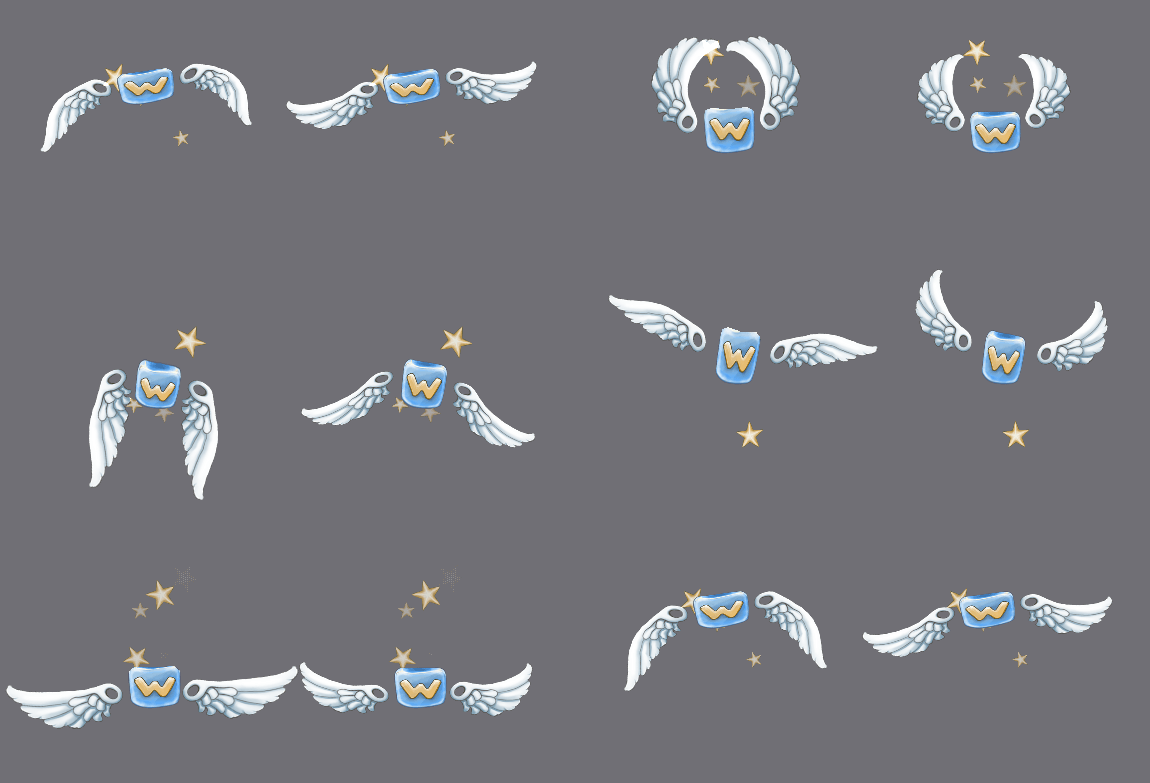
This GIF shows the mesh-based power-up on the left (done with Spine Professional), and the transform-only animated power-up on the right (done with Spine Essential). The basic power-up animation was spiced up in a few simple steps through the use of meshes.
